Is It The Most Detailed Model Y Roof Rack Installation Instructions?
by Tesery Tesla on Dec 01, 2021
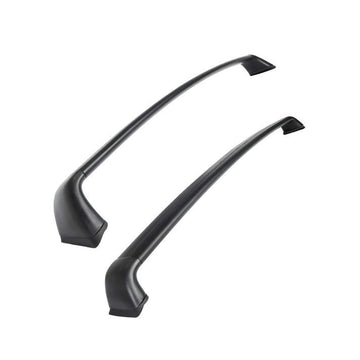
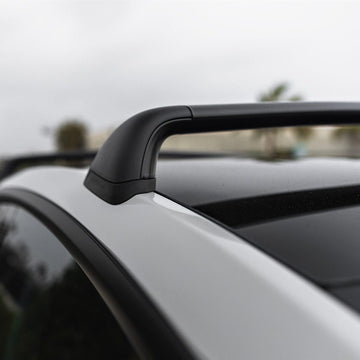
99% of Tesla owners have already purchased Tesery Tesla roof rack for their Model Y. Because this Tesla roof rack has won the hearts of them with its excellent quality, favorable price, and super practicality.
Model Y Roof Rack Installation Steps:


Perfect. The Model Y roof rack installation is finished. Hope this article can help you. Put on the roof rack and take the family to travel outdoors happily.
Precautions During Installing the Tesla Model Y Roof Rack Crossbar:
Before installation, we recommend watching the Tesla roof rack installation video from YouTube.
- 1. When installing, it is best to install by the cooperation of two people, to avoid installation errors.
- 2. Take out the crossbars and accessory box one by one, first follow the instructions to understand the product accessories and general style.
- 3. Manually confirm whether the Phillips screws at both ends of the crossbars are locked, if they are loose, they can be manually locked (Note: It is forbidden to use electric tools, because the aluminum alloy cannot withstand the power of electric power, and there is a risk of sliding wire). After fixing it, you need to check it again.
- 4. Find the card slot of the rail of the roof rack reserved by Tesla, and put the mark in the middle with the transparent sticker in the accessory.
- 5. Attention must be paid to the installation direction of the beam to avoid deformation of the iron plate or other losses due to incorrect installation.
- 6. Do not tighten it too tightly. It is recommended to use a torque wrench for installation, and just tighten it to 5Nm!!!
- 7. After installing the roof rack crossbars is installed, there will be a problem of windage. So you need to pay attention to the weight of the brake when driving.
- 8. If there are accessories installed on the roof rack, you need to check whether the accessories are fixed in place before driving, especially for products such as luggage rope nets, which can carry a lot of things. Of course, this weight cannot exceed the design capacity of the roof rack, which is 50-70 kg.
- 9. The accessories of the roof rack must be fastened tightly, and don’t sway the goods, and don't be overweight.
- 10. After the crossbars are installed, if it is necessary to use or install accessories such as ski racks, bicycle racks, kayak racks, suitcases and so on every week, you must be sure to check whether the screws of the crossbars are loose or not to prevent the product from falling off. It is best to check once a week.

